AMP stands for Accelerated Mobile Pages Project and you can read more about it here https://www.ampproject.org
Installing it on your site is quite straightforward, although not very easy. The best plugin of all IMHO is “AMP for WP” and you can find it here https://wordpress.org/plugins/accelerated-mobile-pages/
After installing it, you must activate it and follow these steps:
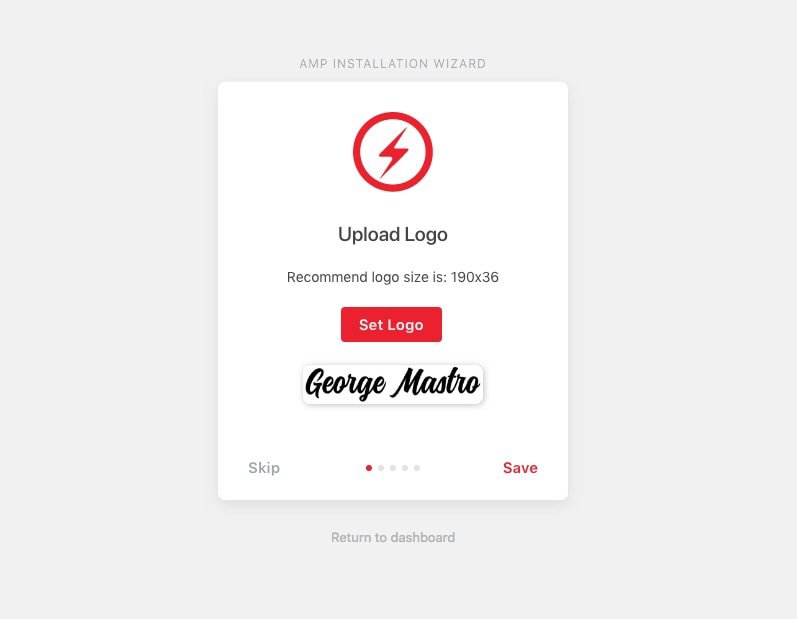
Press Start

Then choose your logo
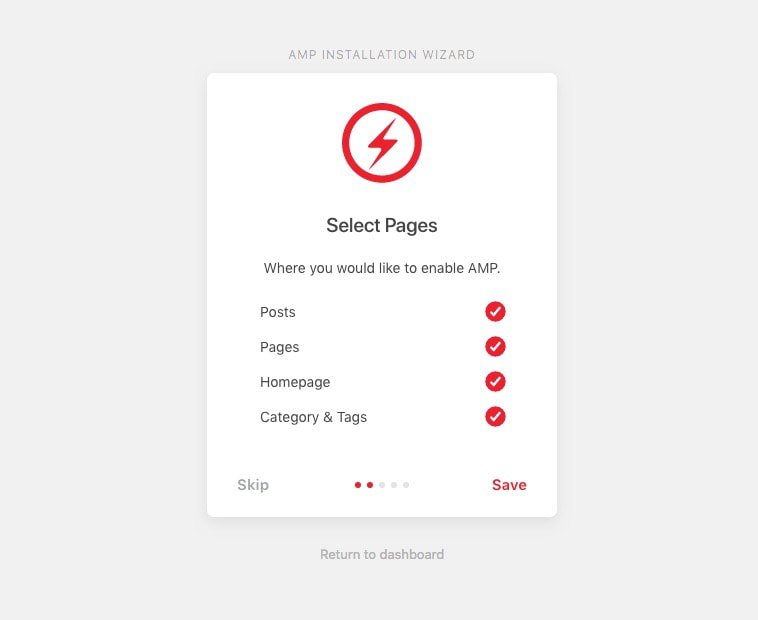
Select the pages that you want AMP to be enabled. I suggest selecting pages that don’t have any special or weird mechanisms that rely heavily on JavaScript.
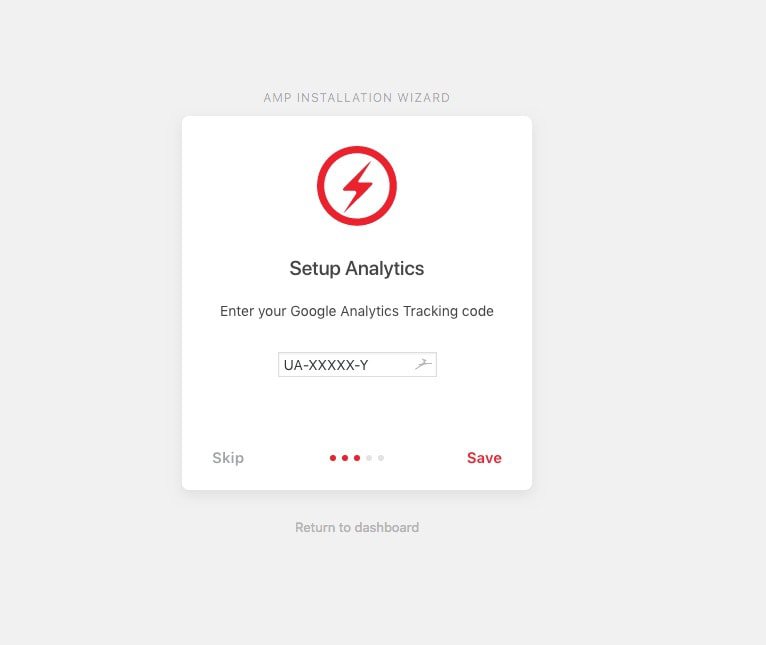
Then set your Google Analytics Tracking code
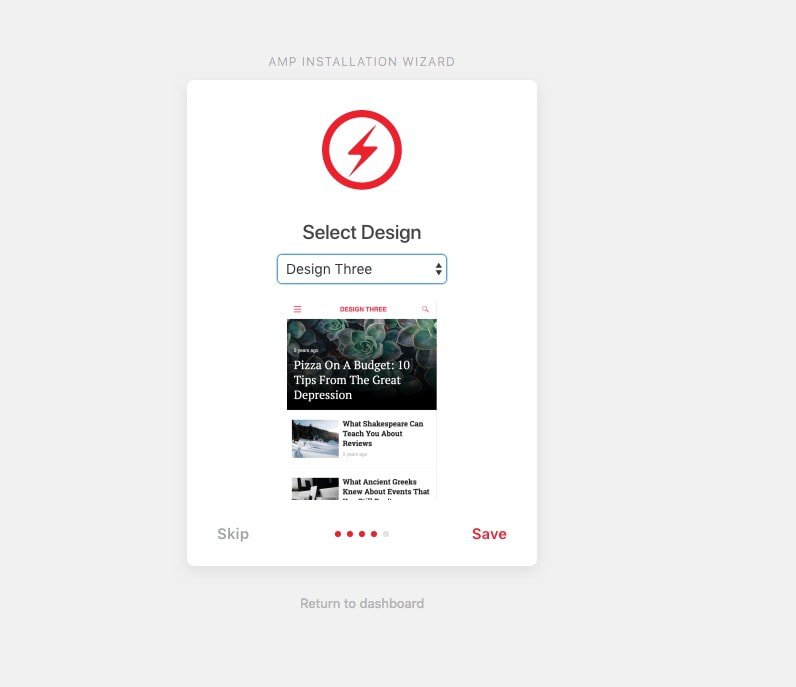
Select your desired style from the 3 pre-installed
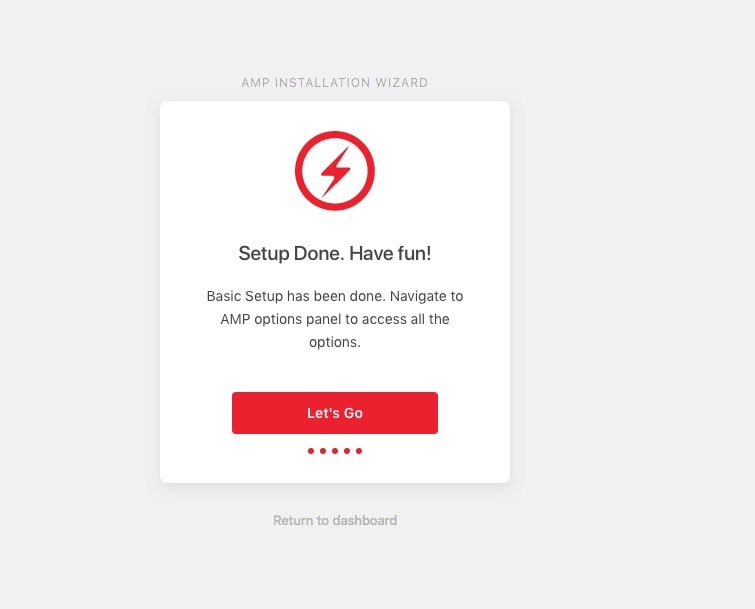
And you’re all set!
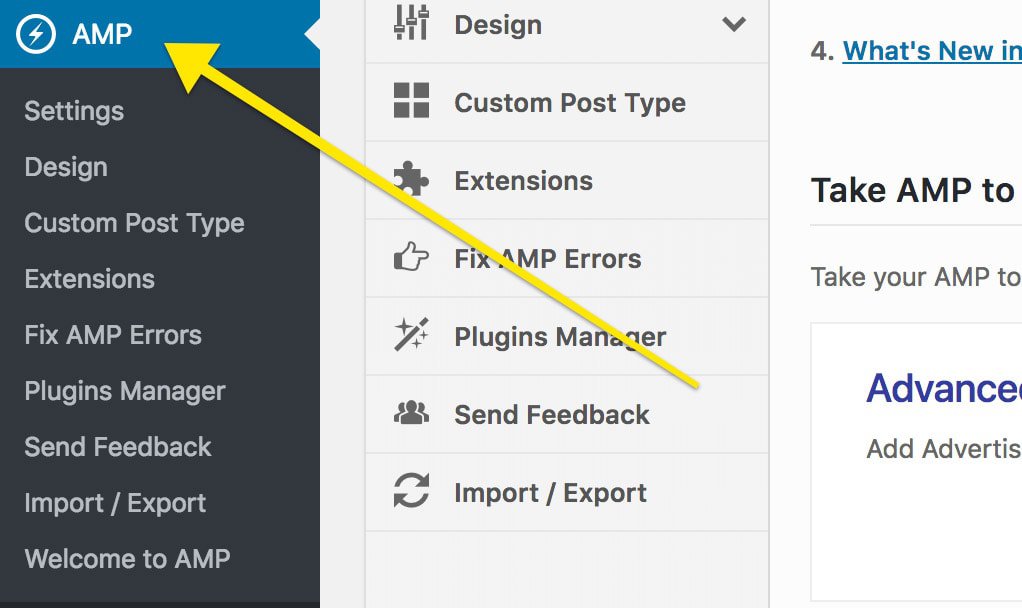
There are some more thing you can do to refine some settings. Head on to the preferences of the plugin here
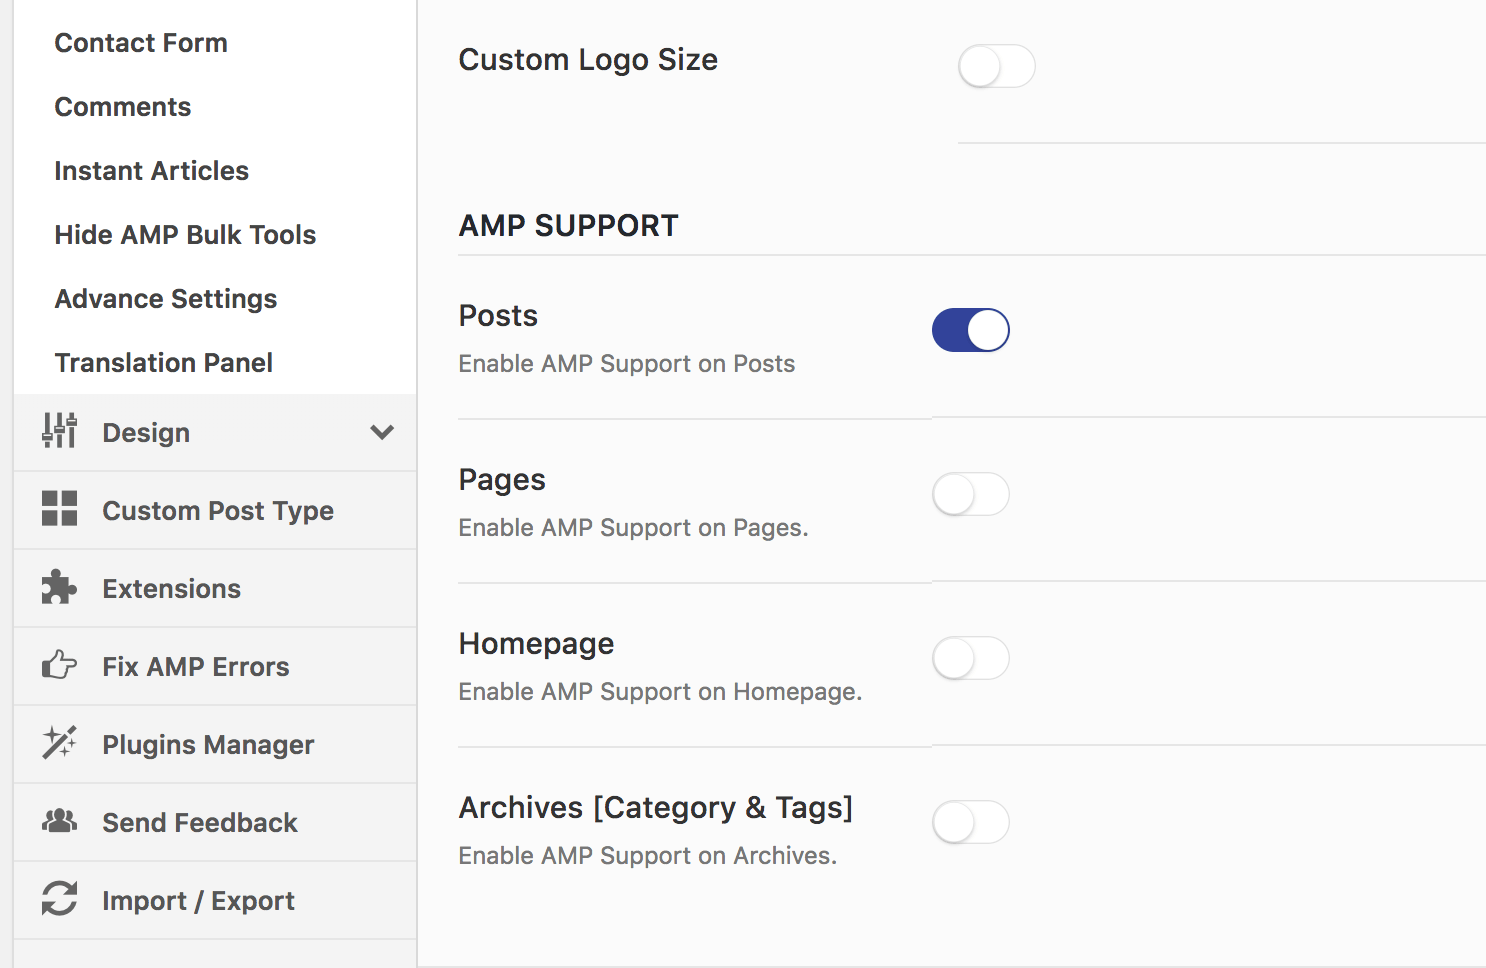
On General->Settings page you can change the pages where you want AMP to be enabled. In my case, I only want it for my blog, so this is how it looks like:
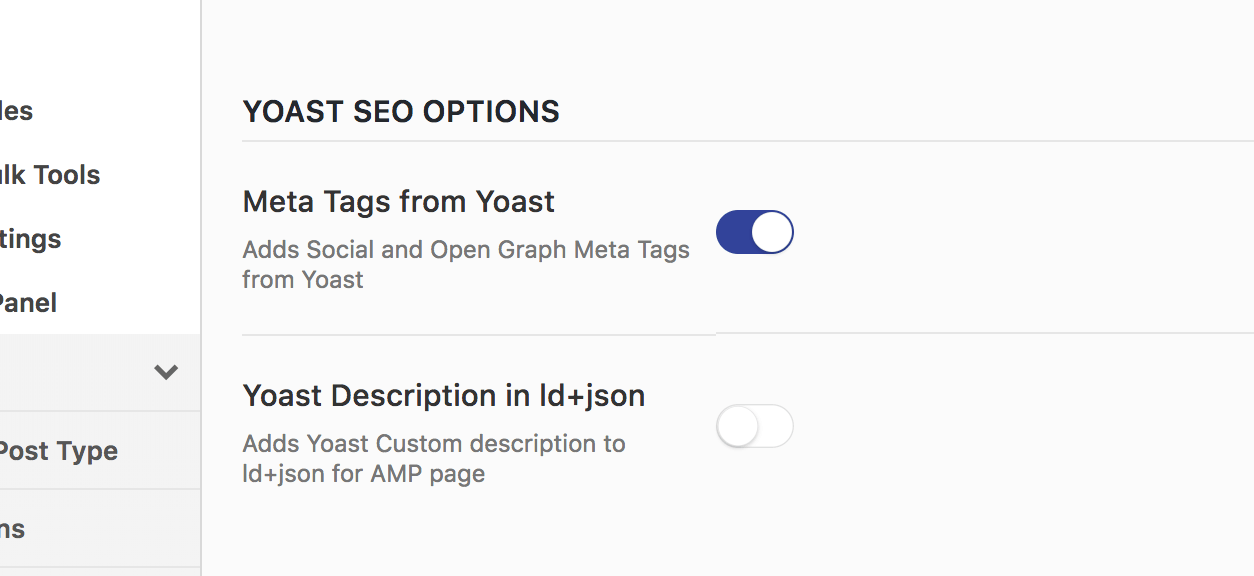
I suggest turning on “Meta Tags from Yoast”
Turn on “Minify AMP Page”

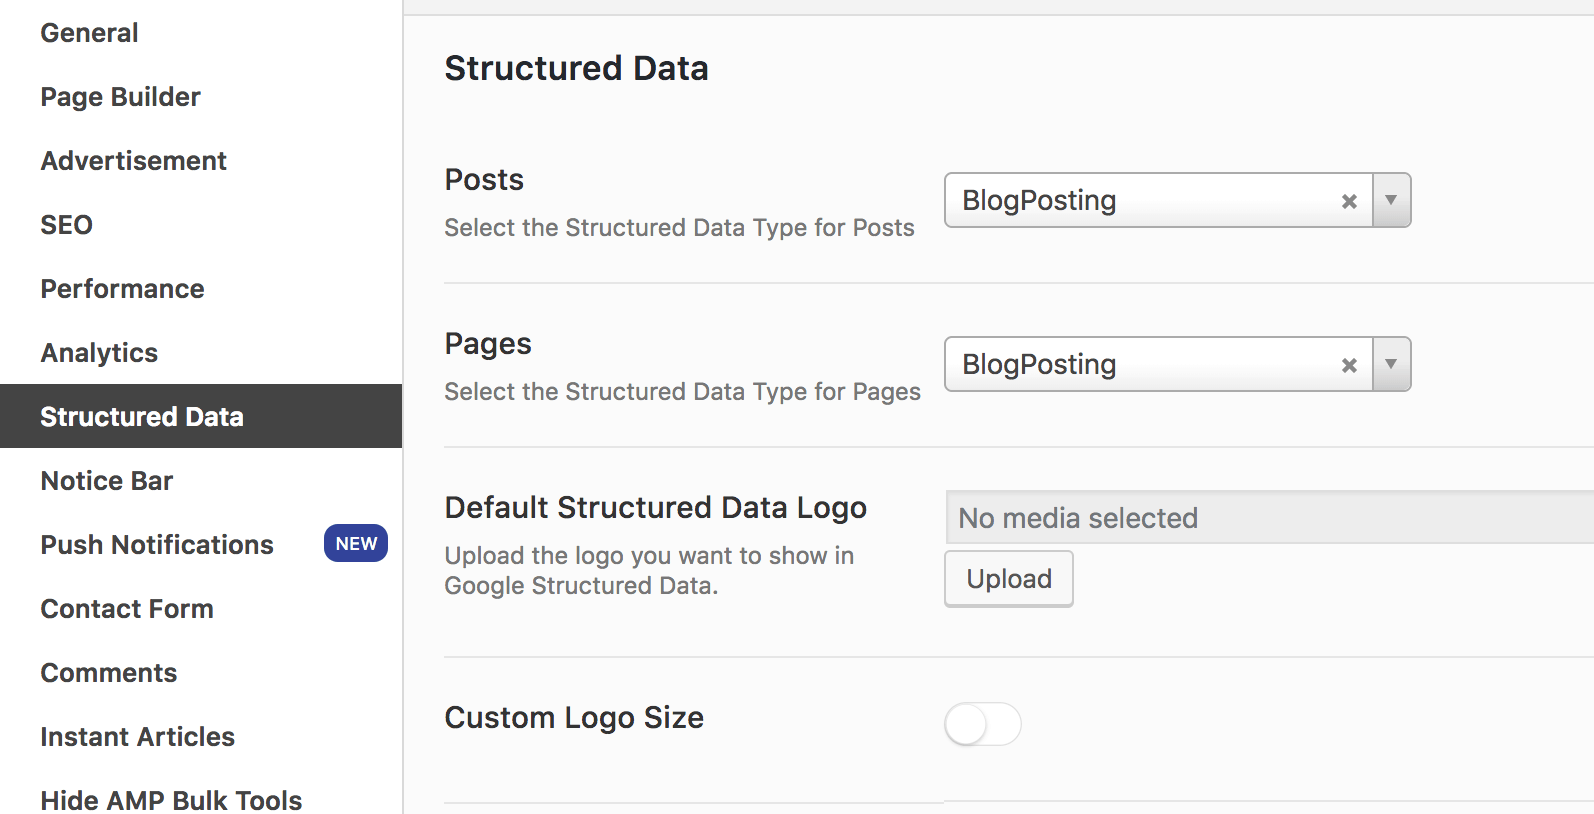
Make sure you have Structured data enabled for posts and pages
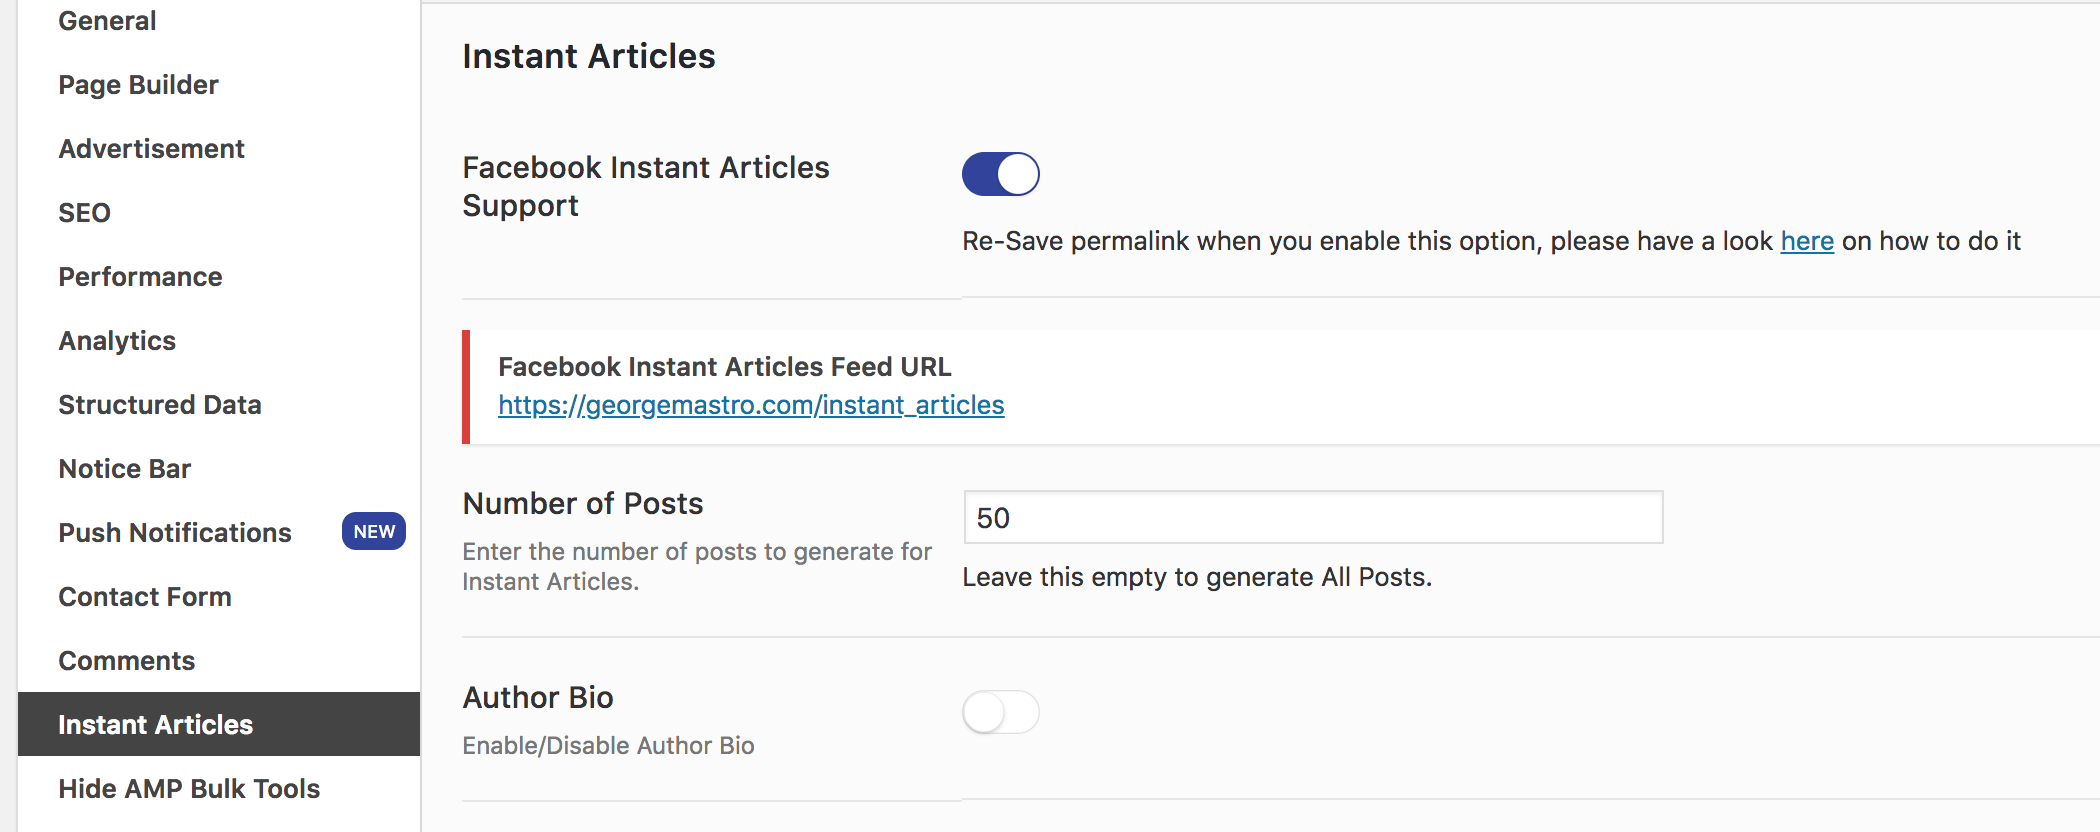
You can also enable Facebook’s Instant Articles. Just be sure to Re-Save permalink when you enable this option.
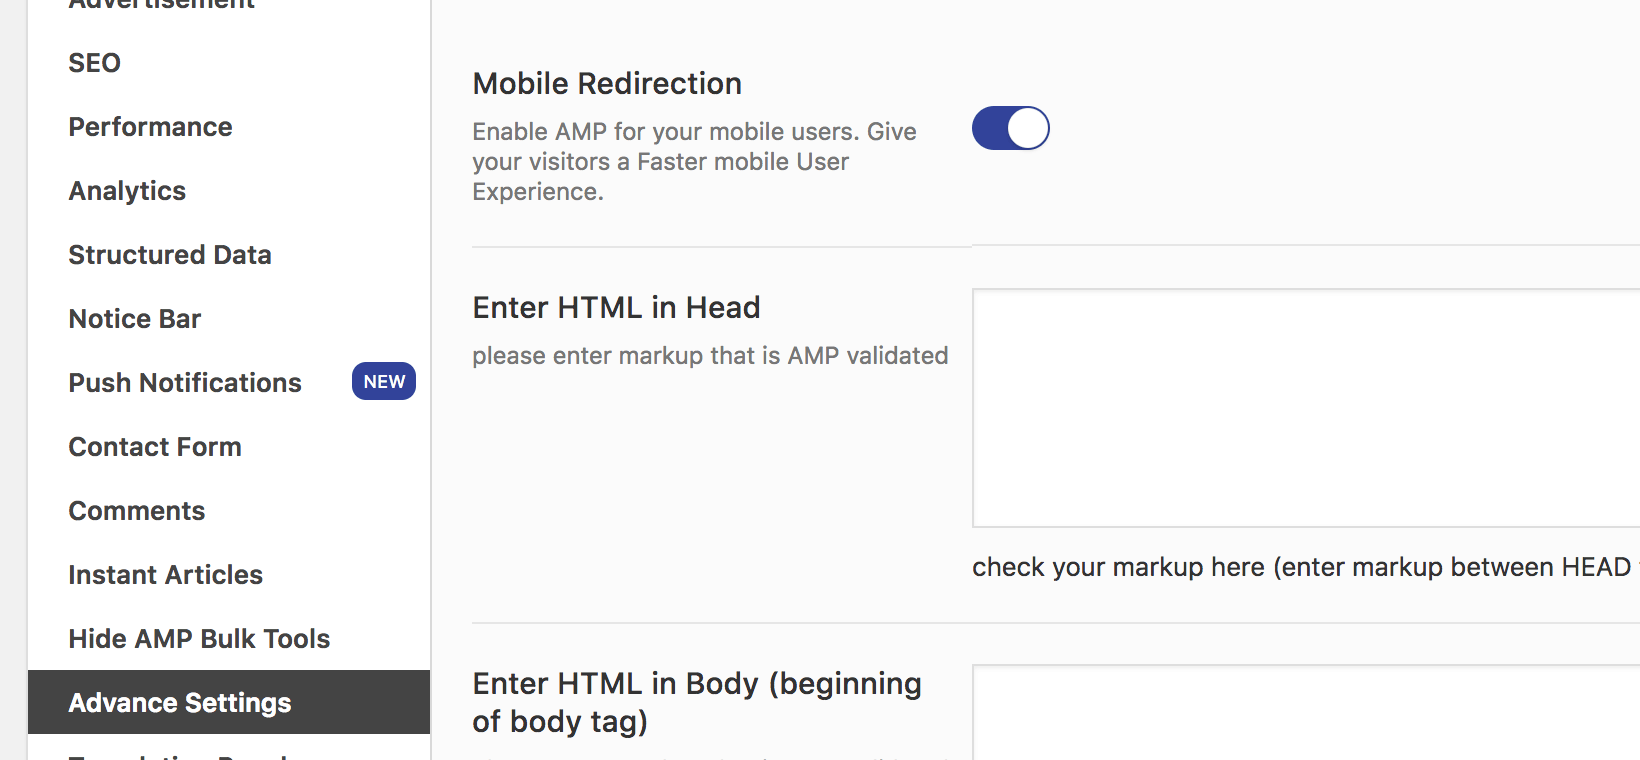
Turn on “Mobile Redirection”
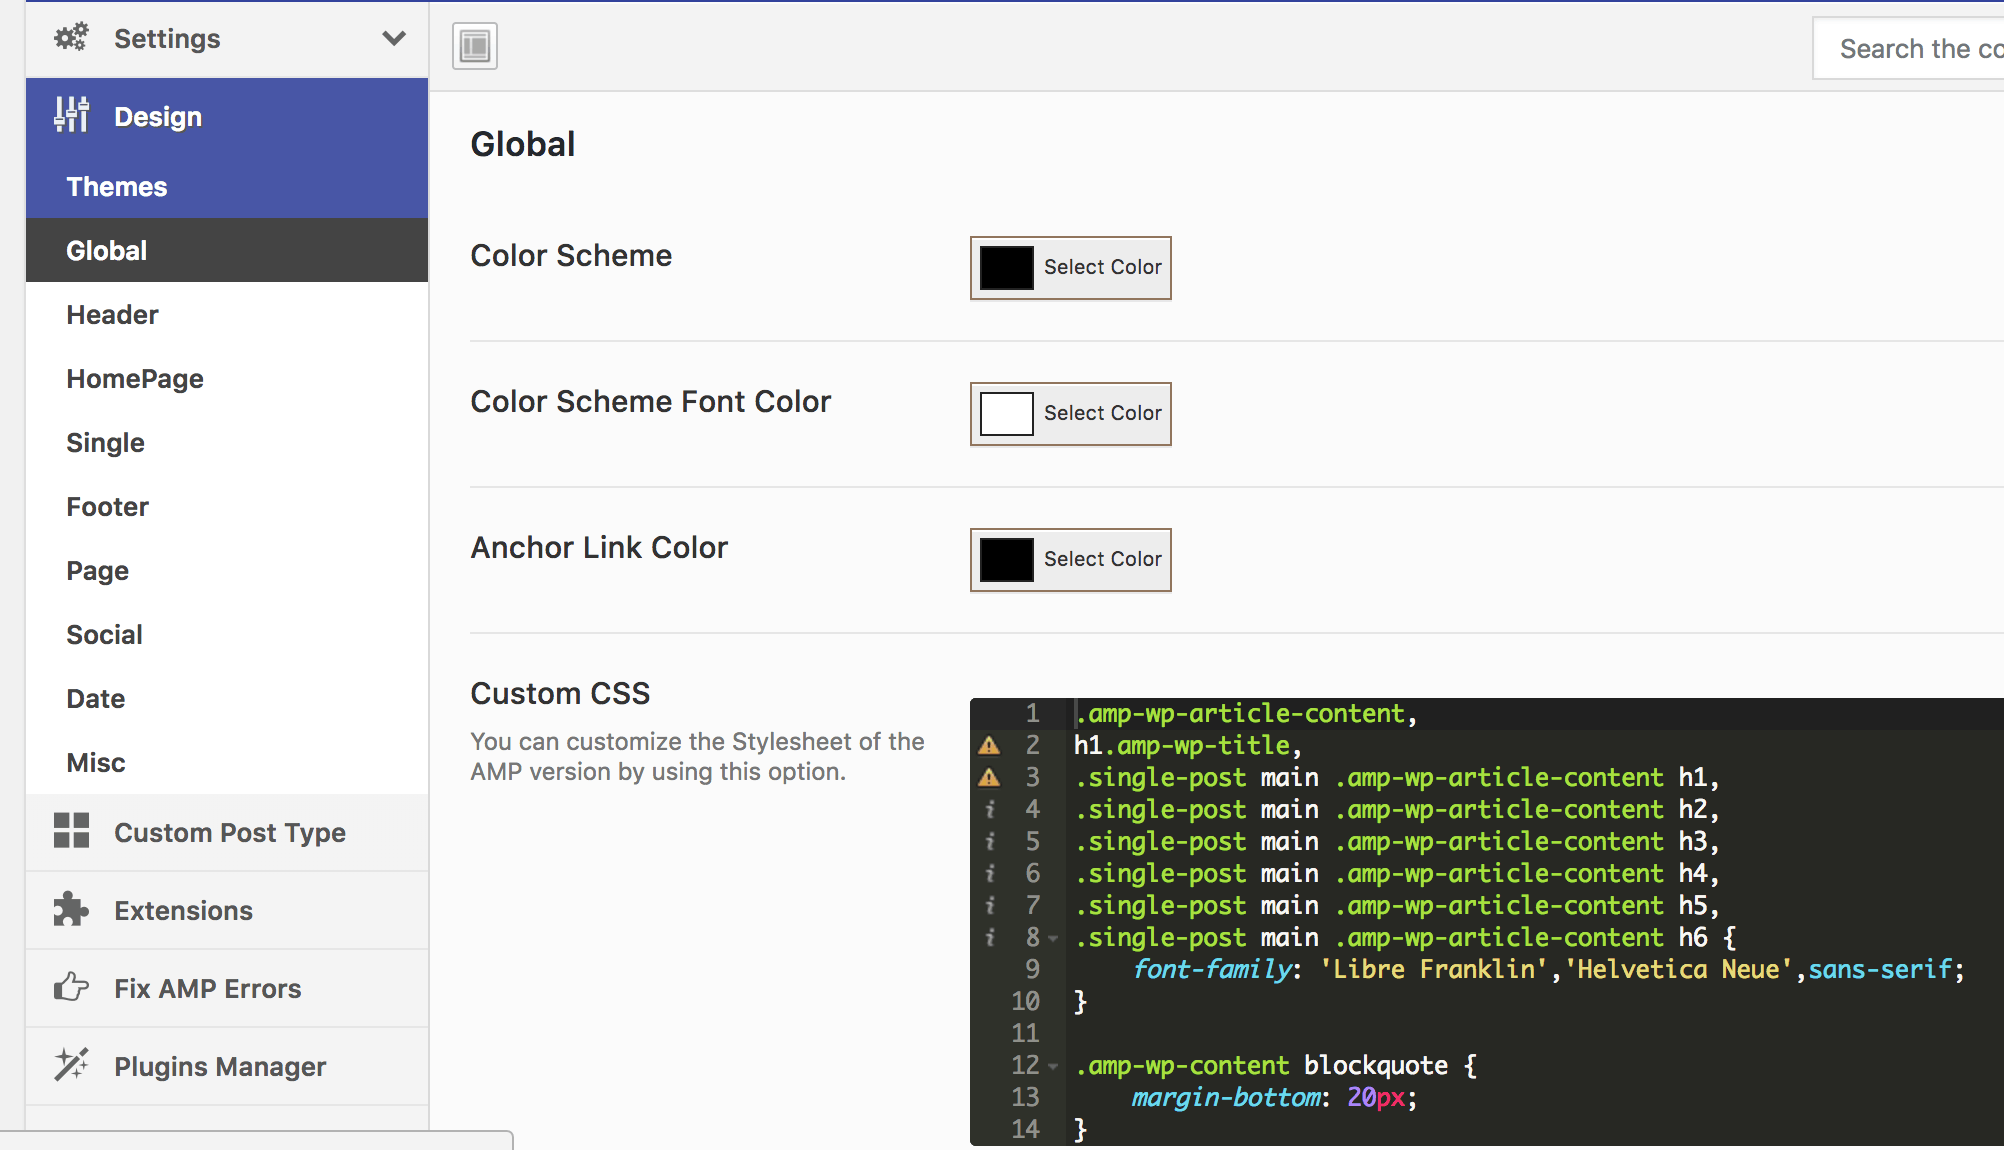
On Design->Global page, choose your favorite color palette and add any CSS needed for typography that doesn’t match your main theme
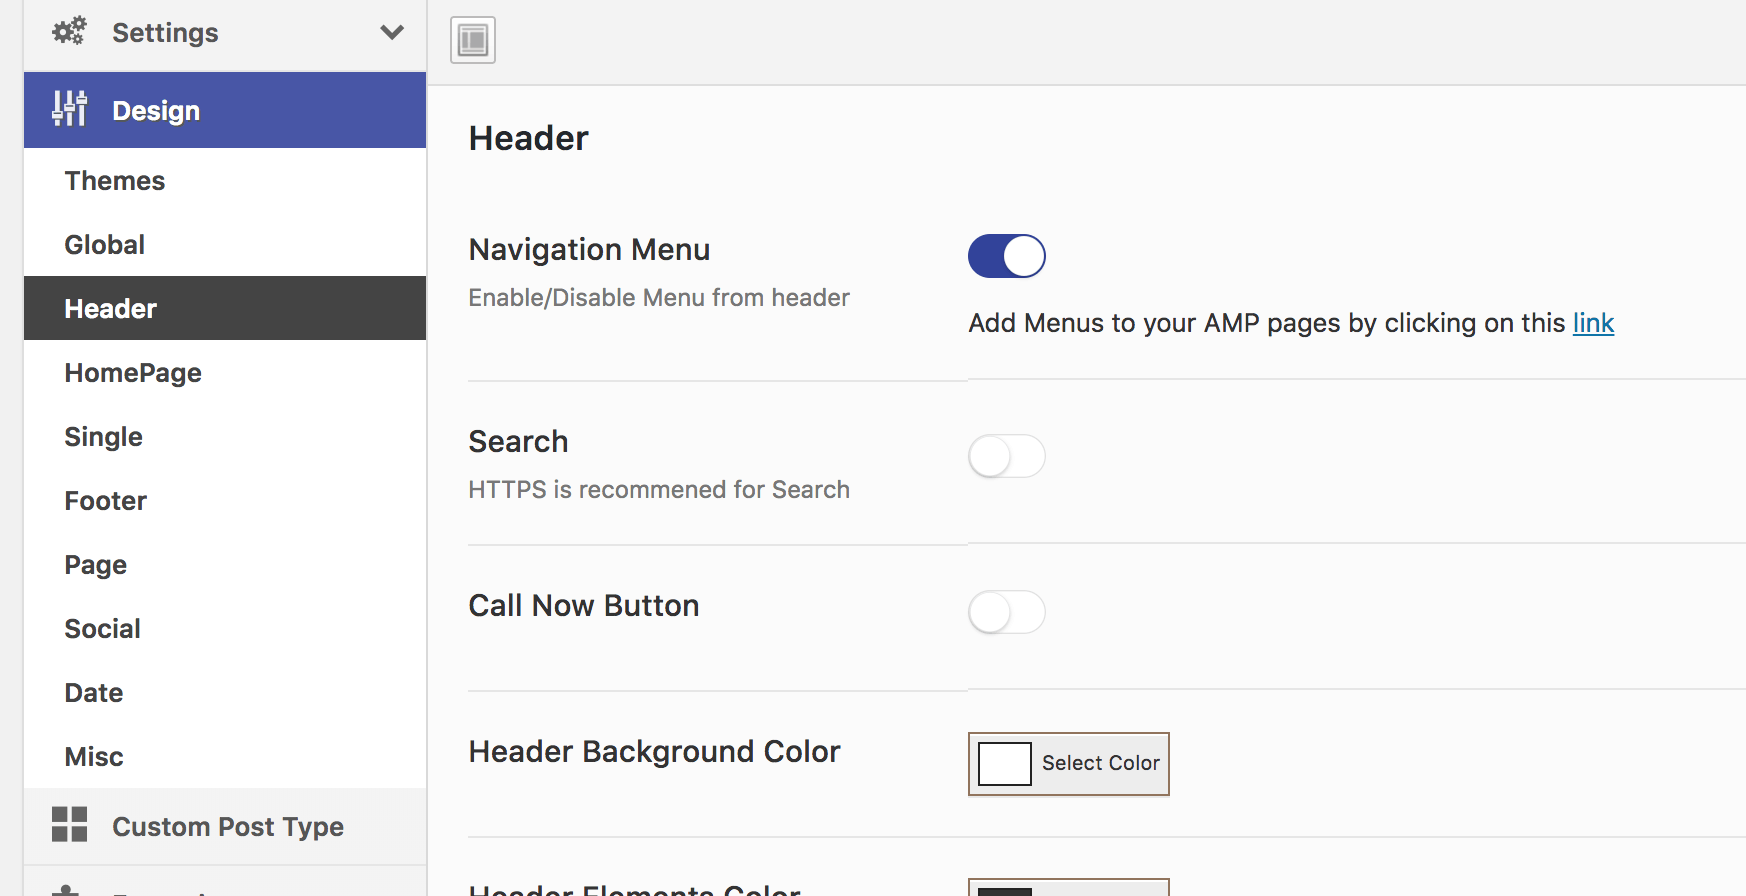
Add Navigation on your AMP pages
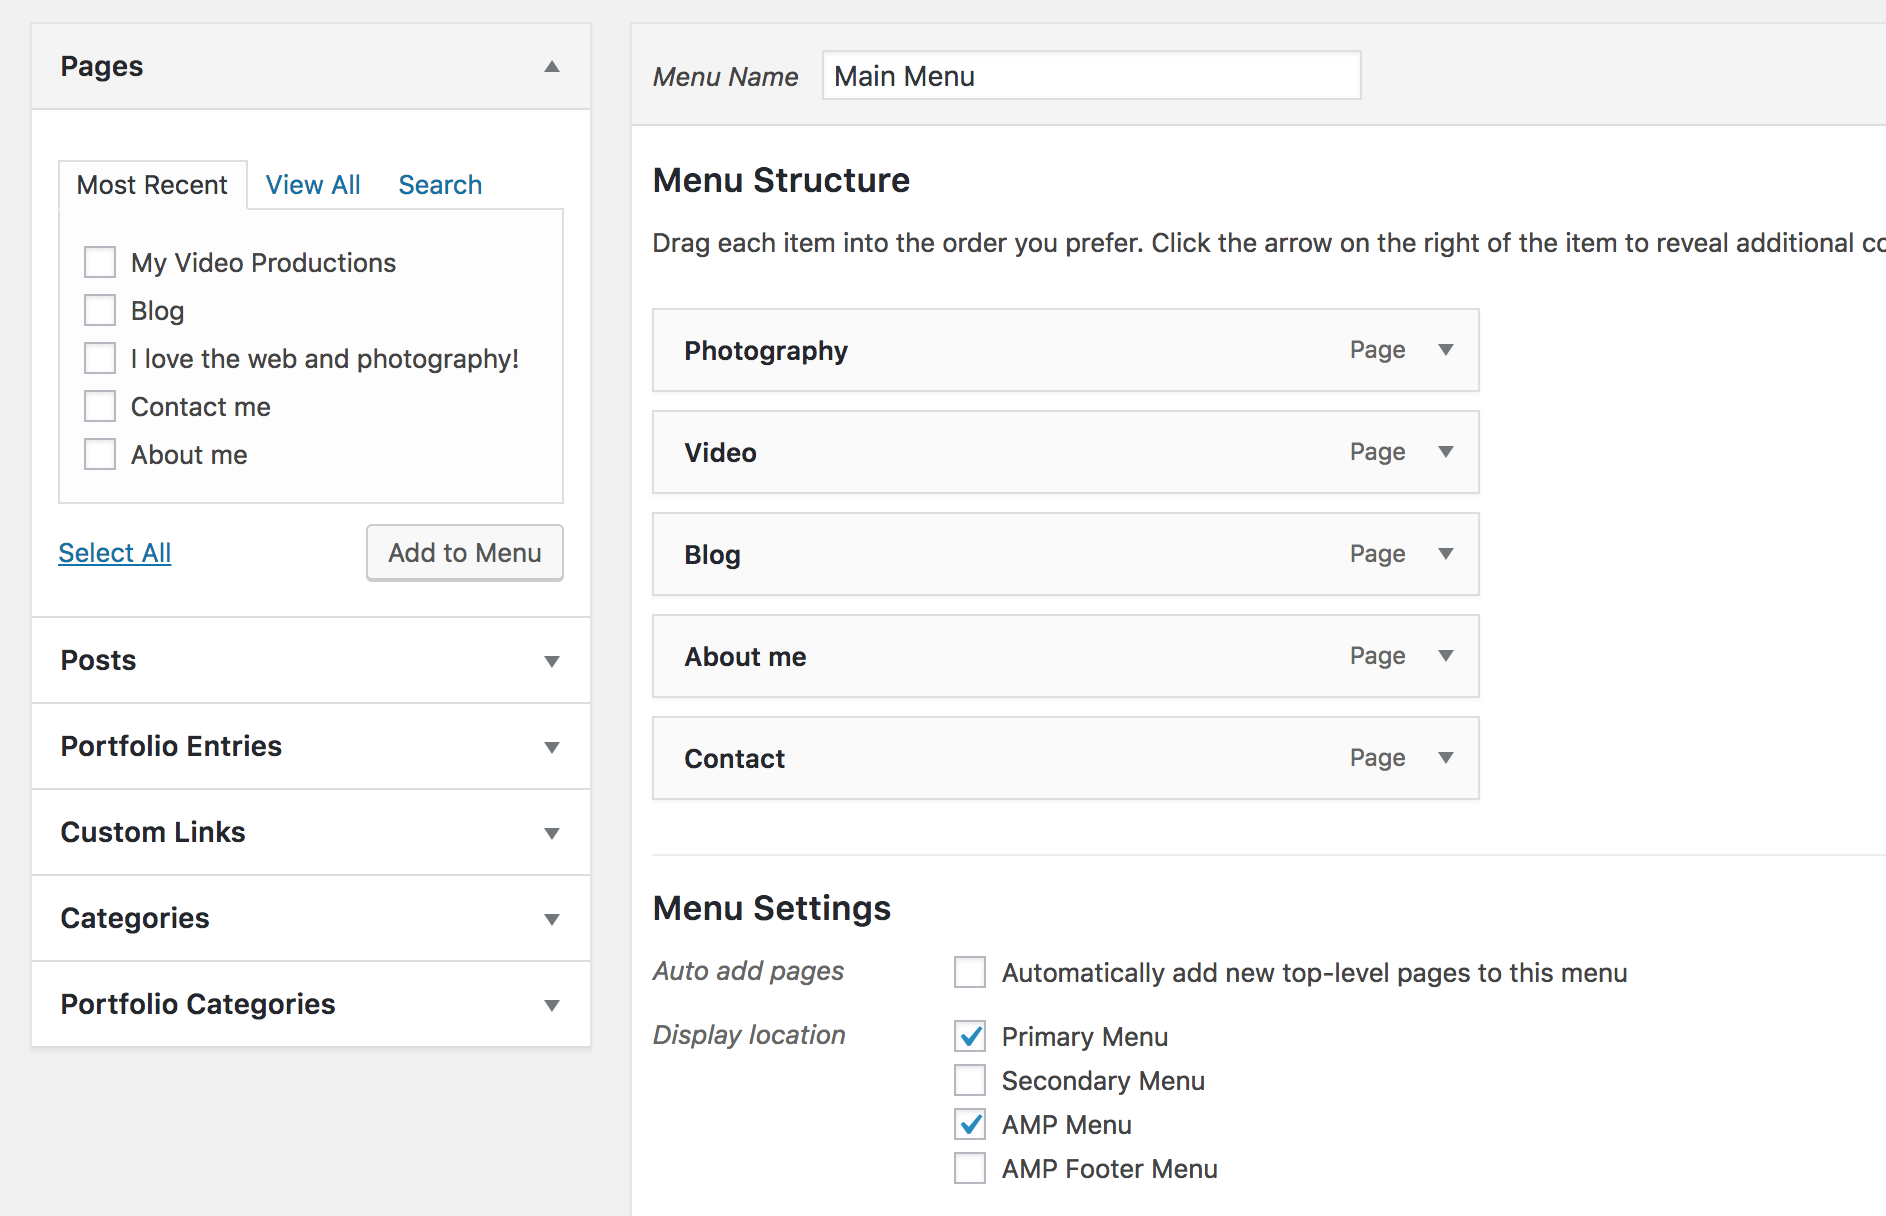
Then go to your WordPress Appearance->Menus and add your preferred menu to your AMP theme
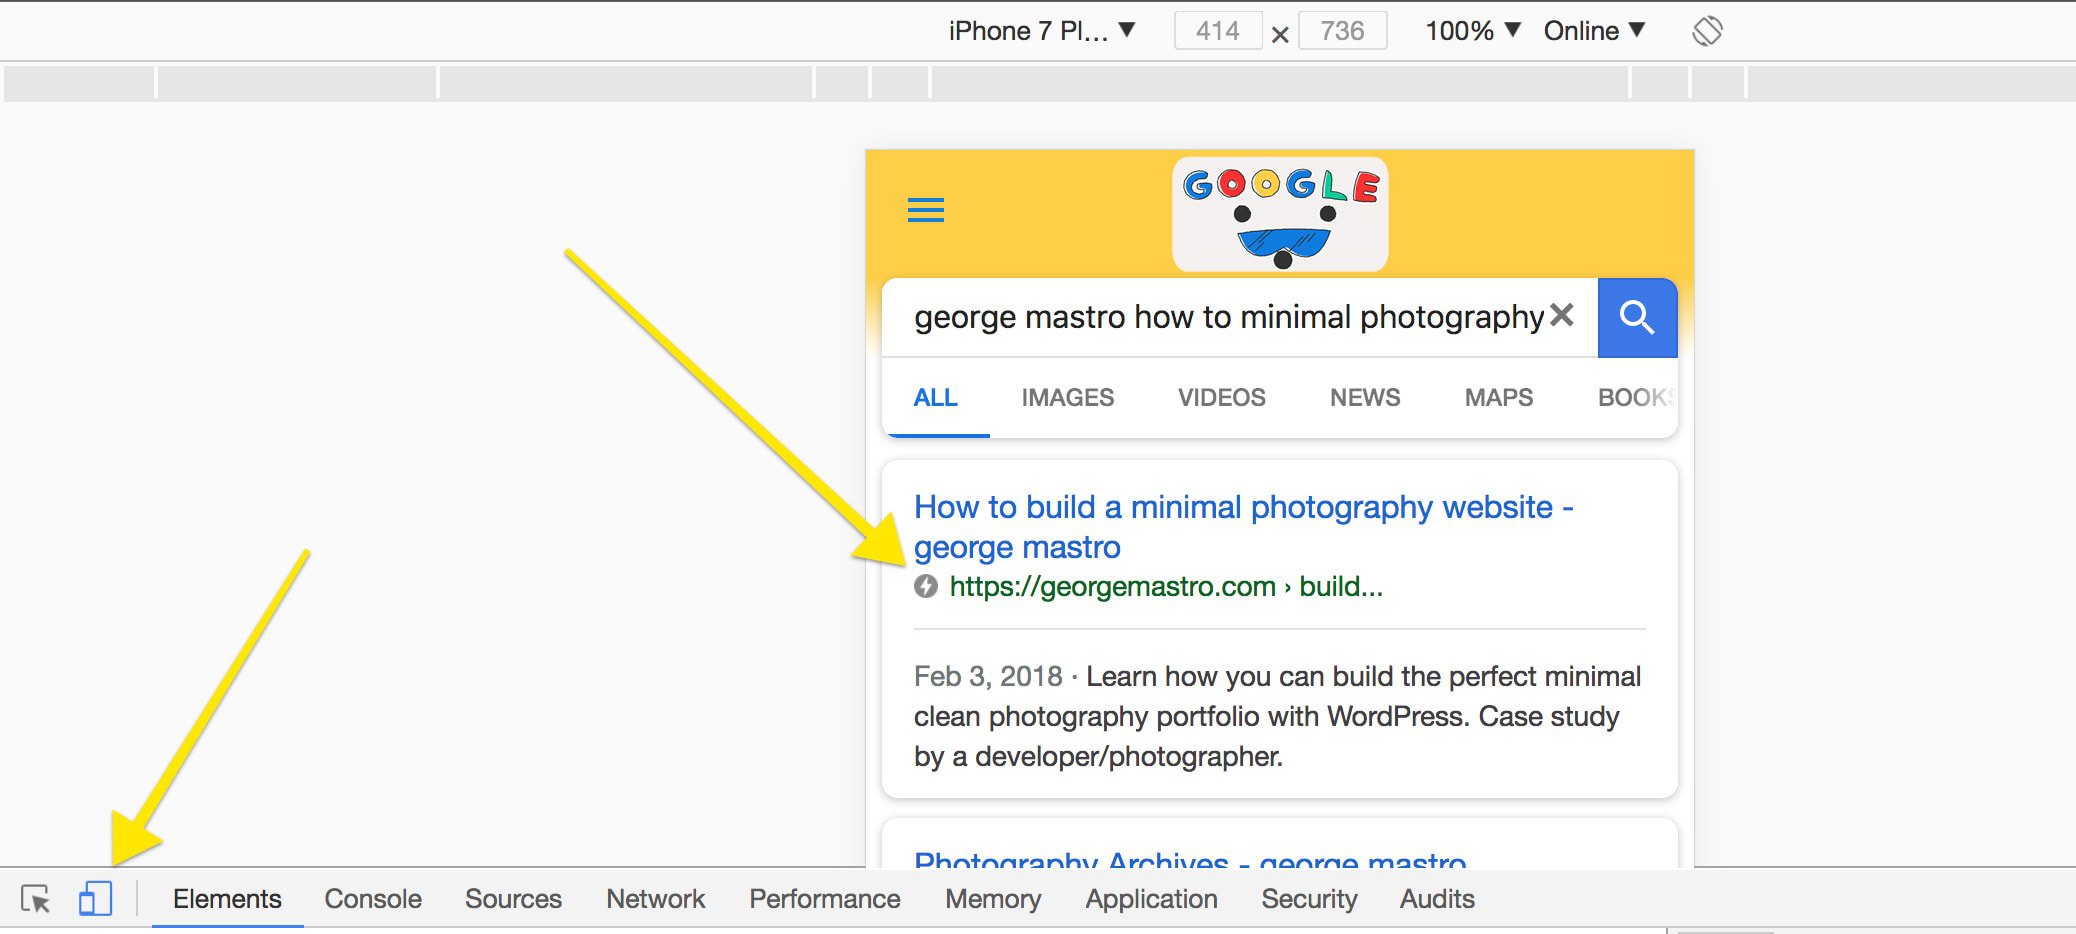
As a last step go here https://search.google.com/test/amp and check if one of your pages can be read correctly from Google. If so, it should look like this
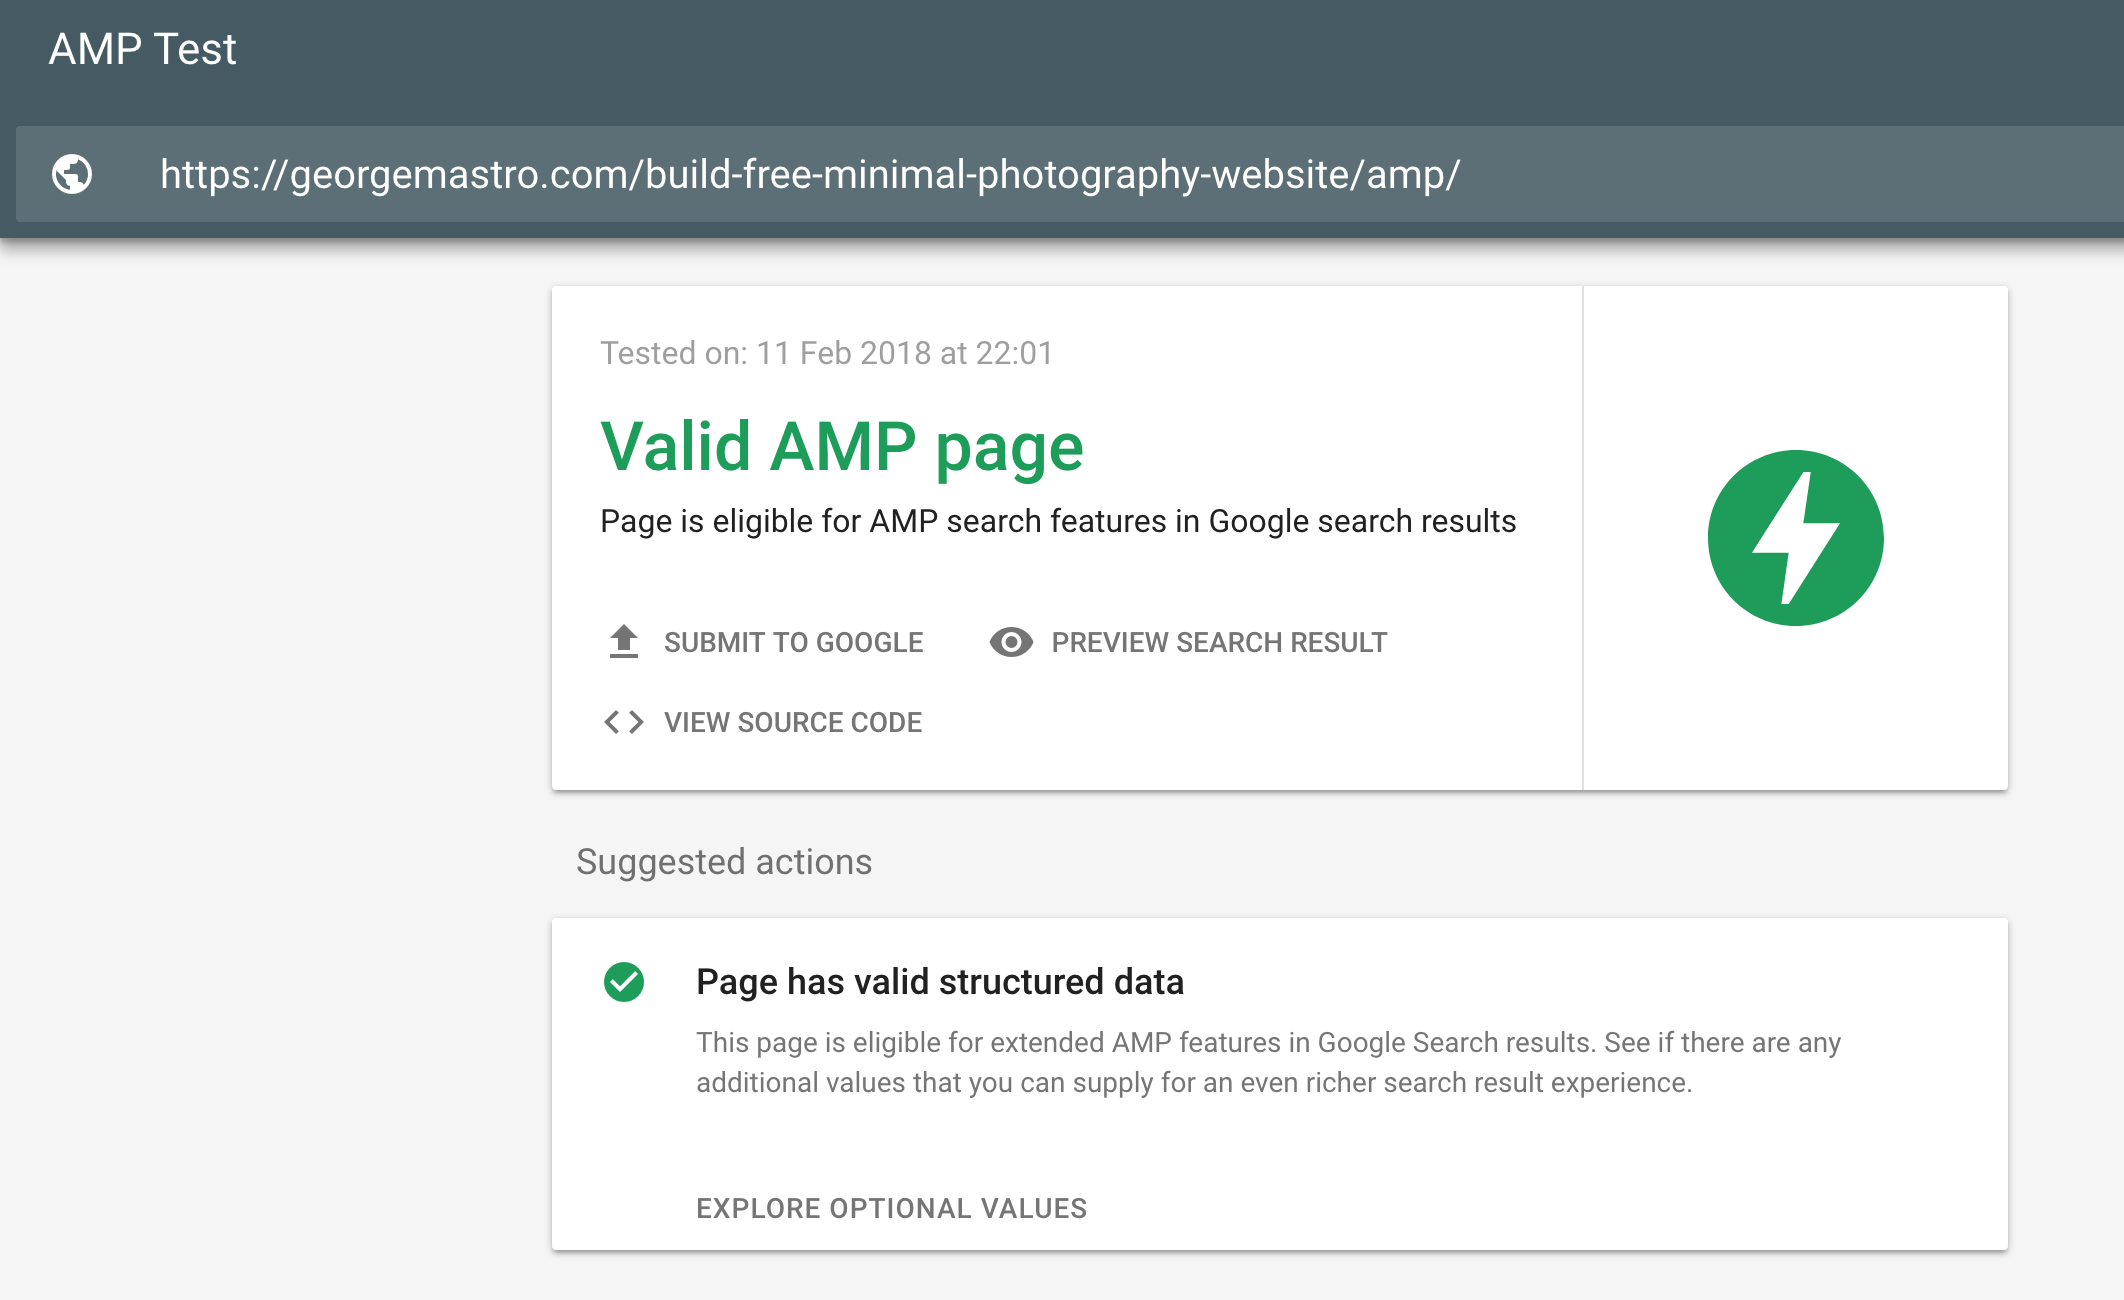
Hit “SUBMIT TO GOOGLE” in order to be processed from your Google Console faster. After about 24-48 hours, your search results should show the familiar AMP lightning icon
That’s it!
If you found this article useful, don’t forget to check my channels:
Insta: georgemastro
500px: georgemastro
Twitter: george_mastro
or contact me here https://georgemastro.com/contact/